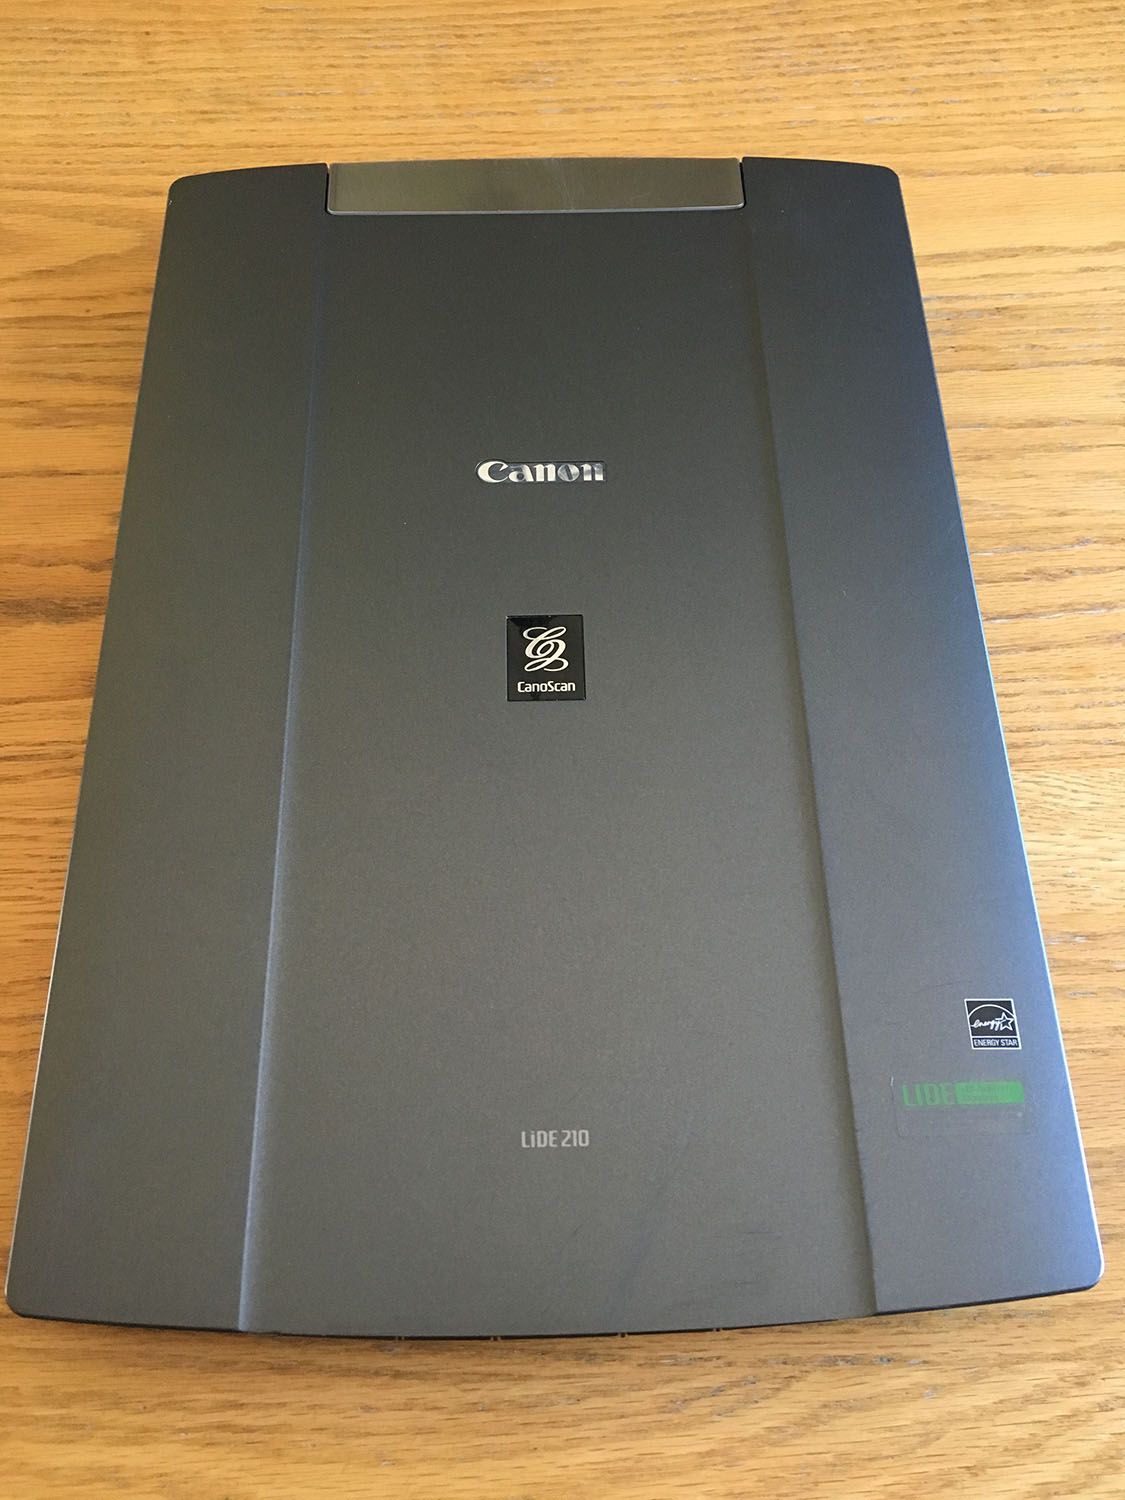
You installed Kronocard and quickly you scanned 100, 500, 1000 cards! Yeah! So you're exited and now you’re the king of the hill with that many cards online for sale. After a while, you realized that your scanned images are not as perfect as it could be and you don't know why. You need to find the reason for this to avoid affecting your sales. In order to have the same quality image for your cards on kronozio.com we will talk about canning today.
In fact, most of the time it's only a small problem and it is still possible to sell those imperfect listings, but let’s put all the chances on our side.
Here are the most common cases.
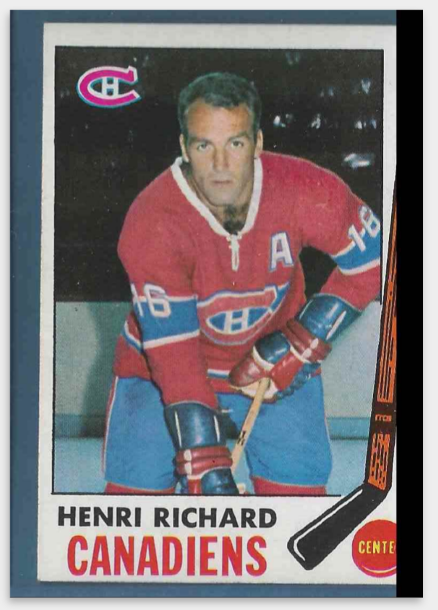
Why I have some black edges on my cards?
99.9% of the time it's one of those 2 reasons.
- There was no space between the card and the scanner edge.
- The card was too close to the end of the scanning area.
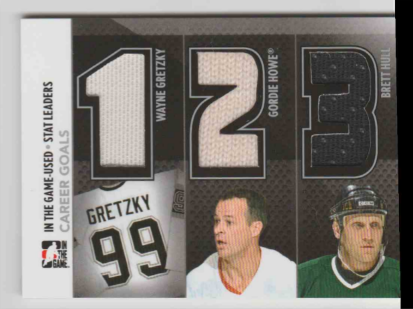
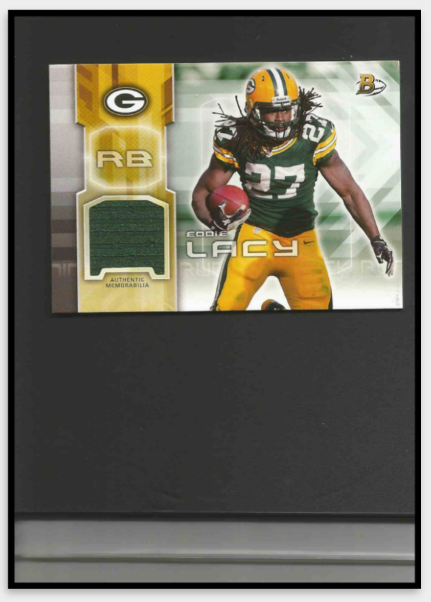
When you're looking to buy a card on the web, you expect to be able to see all corners right ?
Our card detection algorithm that split all the cards images founded on the scan is very precise. It detects the exact 4 corners of each card. To be sure that your future clients can see all those corners correctly, we are extending the cropping area to make sure that they will be part of the image. Now think about it for a second, what happen if you take a family picture and you cut half of the face of grandpa... You go to your printing services and tell them to print it bigger so we can see grandpa's whole face. Hey! it's impossible to add something not recorded right? :) This is the same with Kronocard, but in our case we are forcing the software to still add the extra border. Without information the software fill the missing with black.
That explains why you see black edges that cut the image.
The second case that we see is that you have a card that is too far on the glass of your scanner and the scanner lamp doesn’t get information pass this point. Same thing, missing informations in your image result in black edge.
Another problem that we are seeing from time to time is this.
Why ? Hey I know that you want to save some time by not closing the scanner lid. ;) We have tried this also hehehe. Or you want to scan with the lid cover open and used a black sheet or cardboard to cover as a lid.
In fact scanner lamps are calibrated to get the color information as close as possible to the scanner glass. When you scan with the lid open the censor grab color information that is not uniform and most of the time result in a background around the card that is not a plain color. The software has a hard time trying to find your card on that strange none uniform background. We strongly suggest that you close the lid for each scan to get better result and at the end you will still save time. Well, if you forget to close it while scanning and the software did not find the card corners correctly you can always use the cropping mechanism provided in the scanning module of Kronocard to identify the corners correctly. Just move the 4 red targets centering it on each corners of the card.
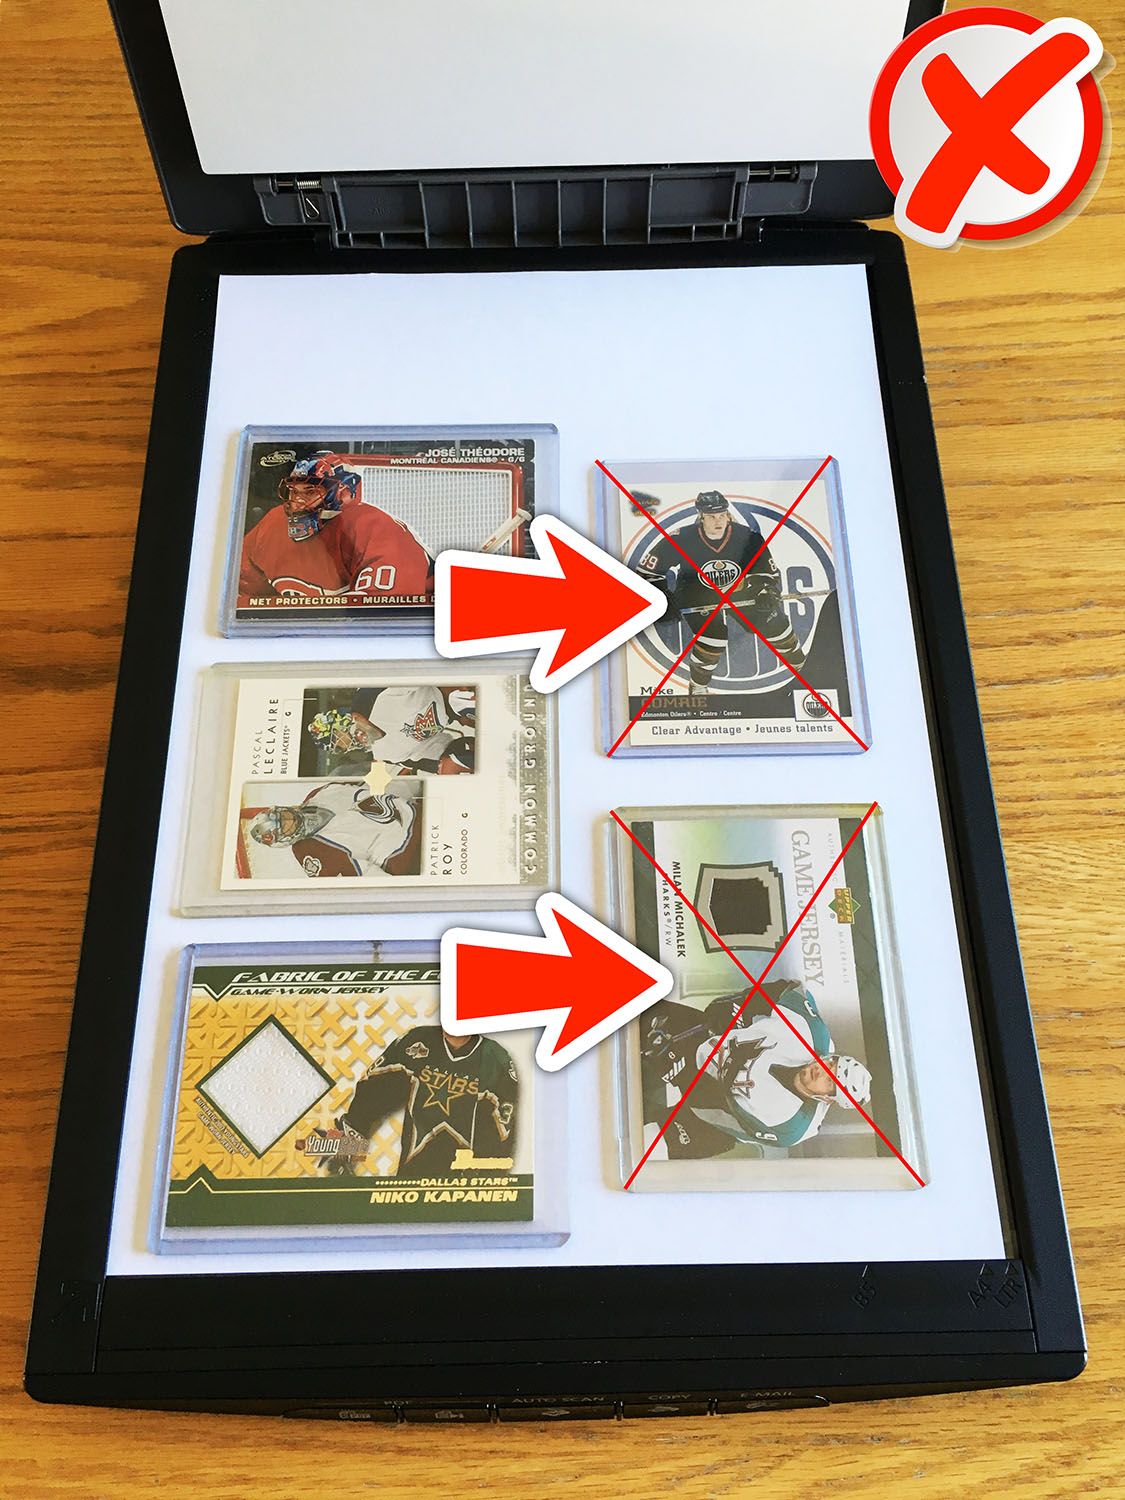
That being said, scanning with cards touching scanner edges will produce images with black borders and clients will not be able to see all your corners and edges correctly. You may lose some sales.
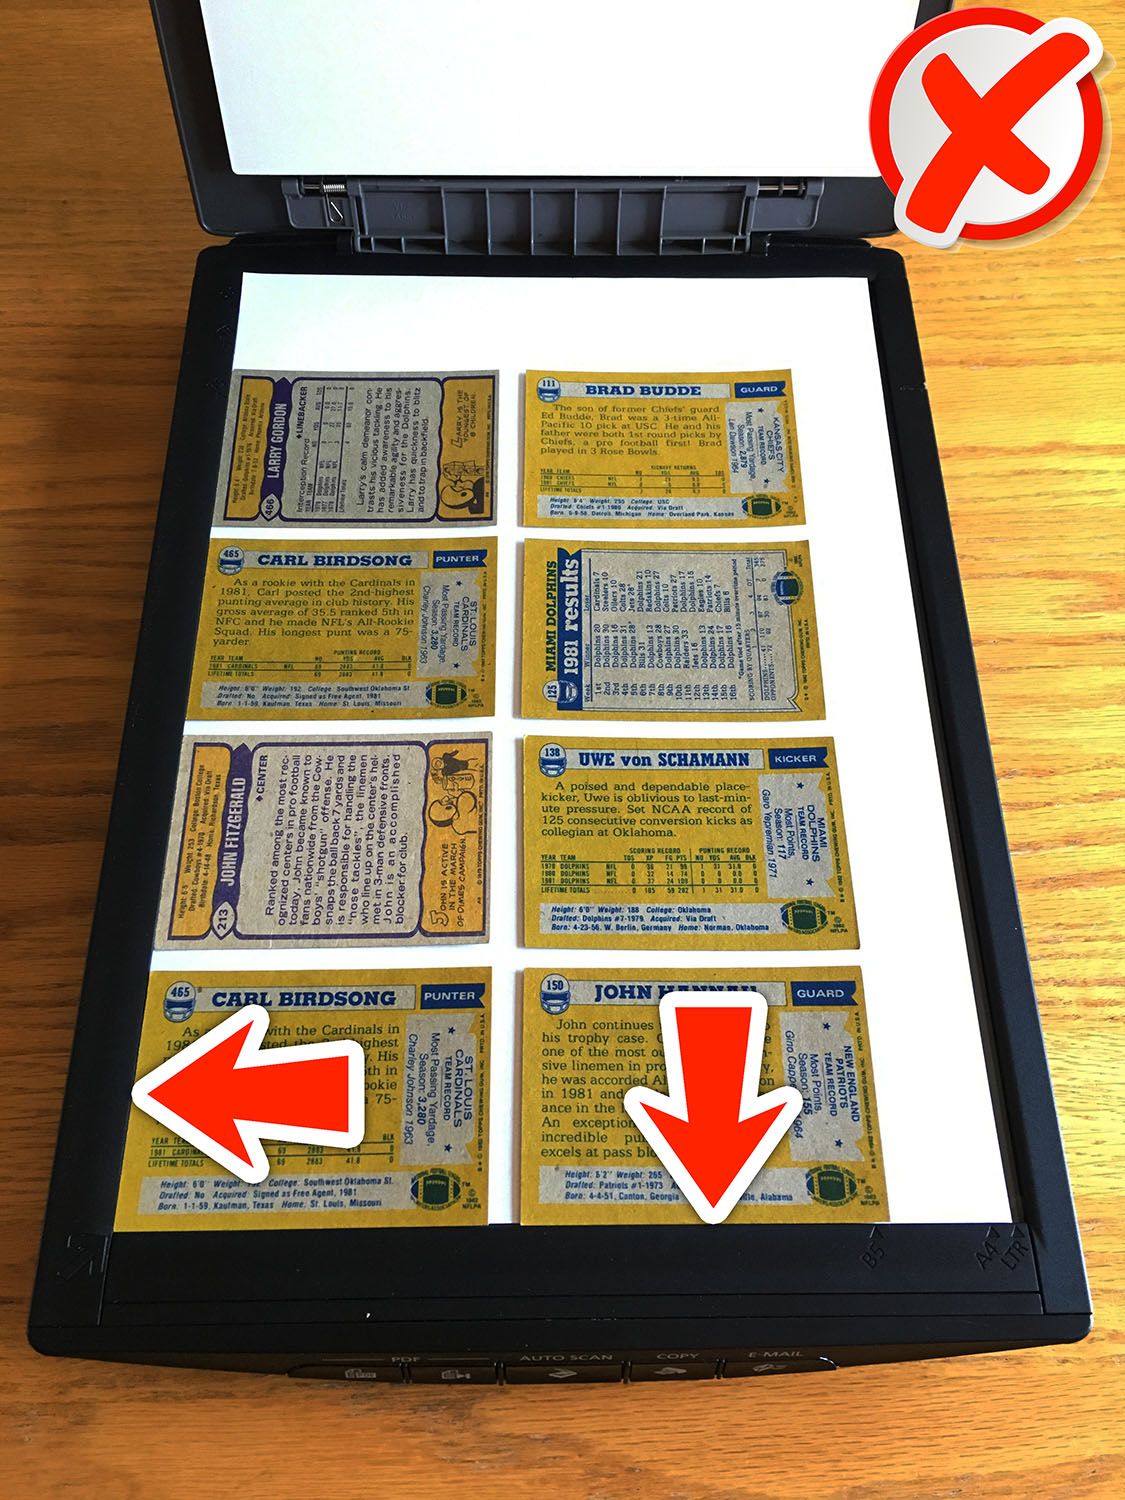
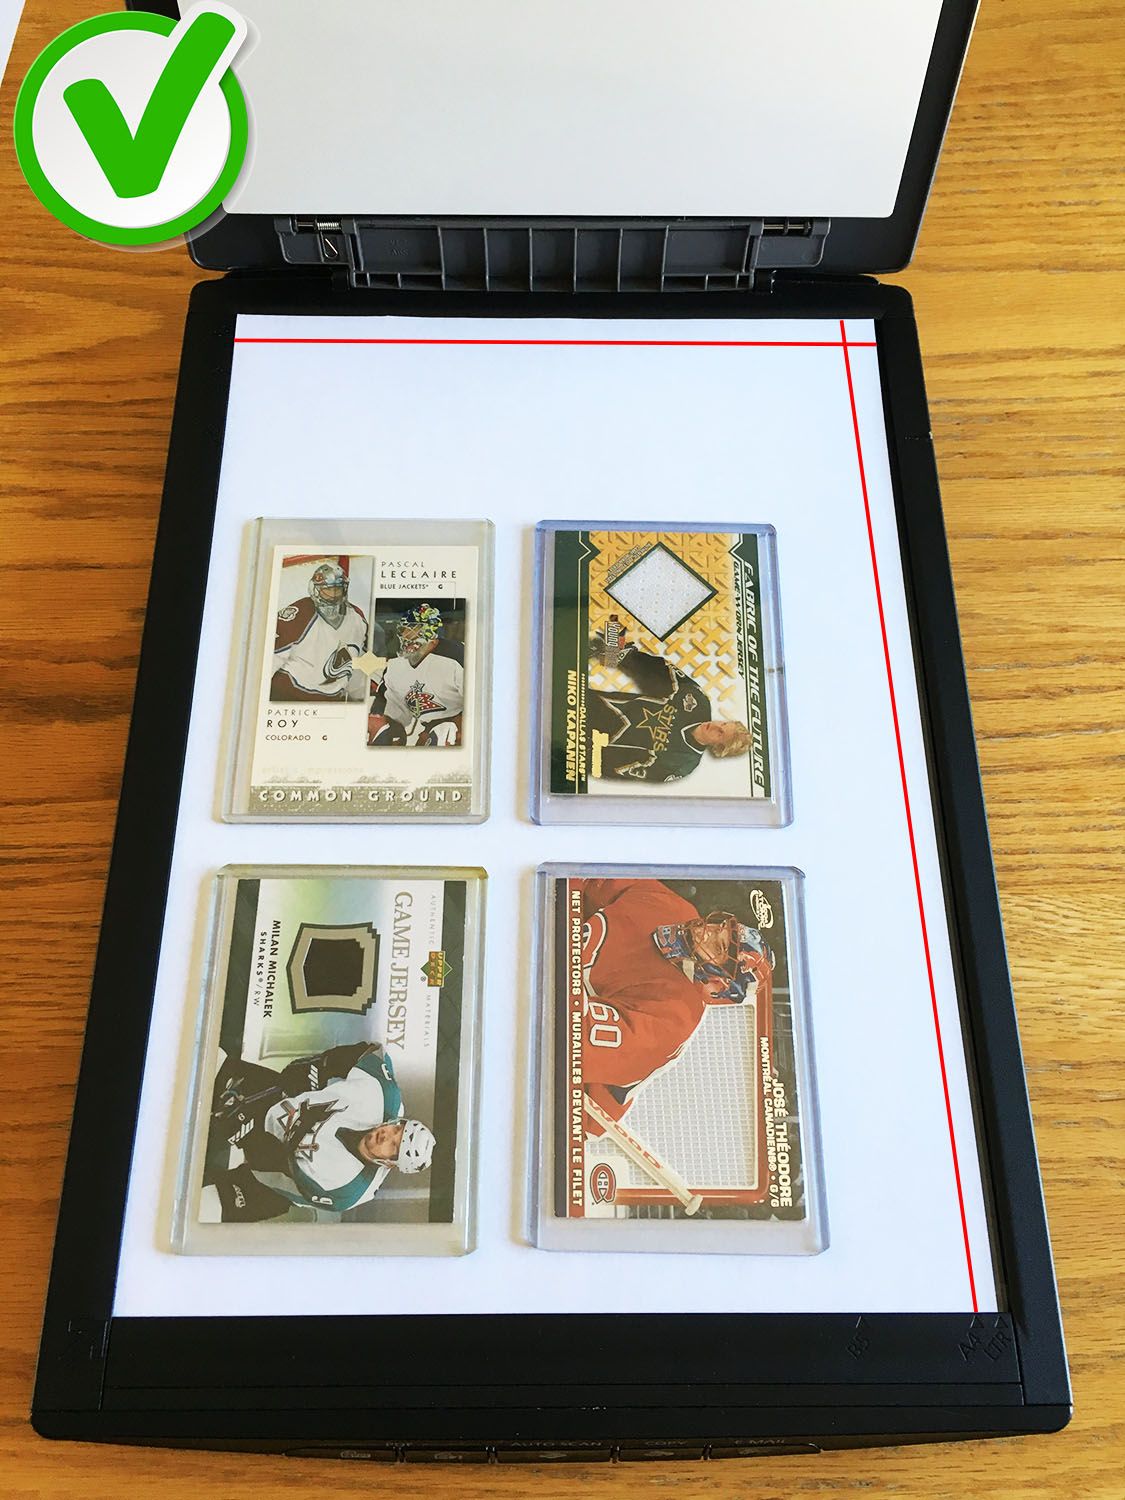
This is also not good for cards in top loader, the same problem when touching scanner edges
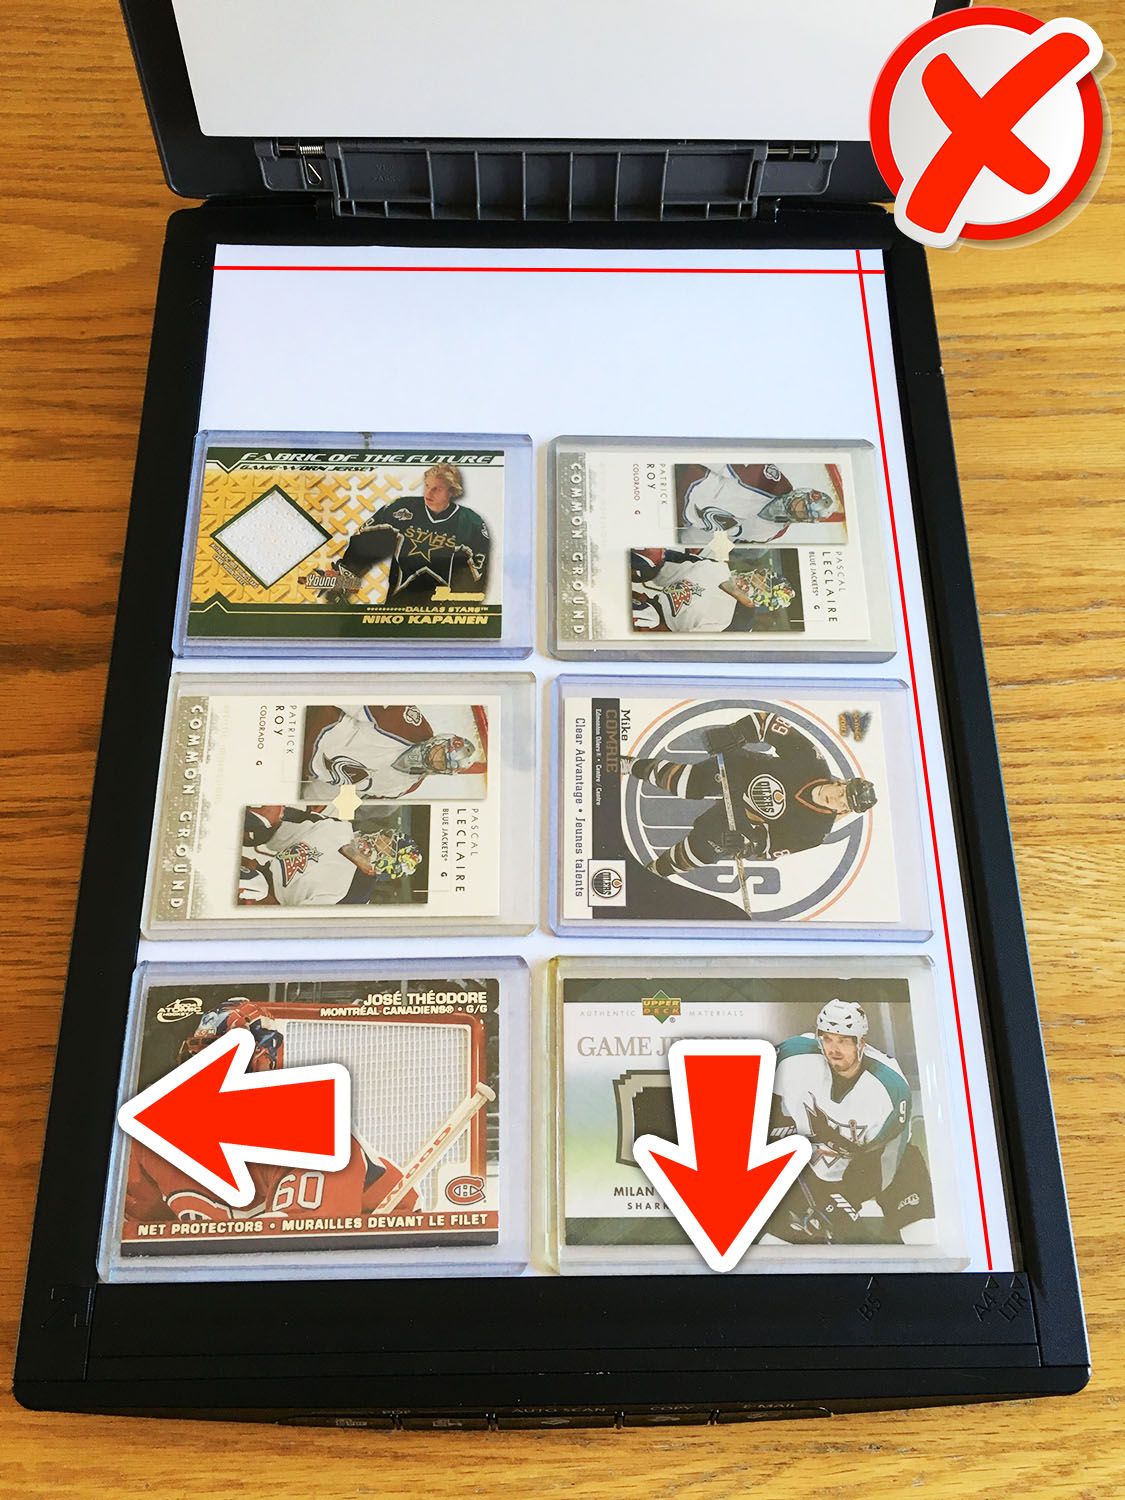
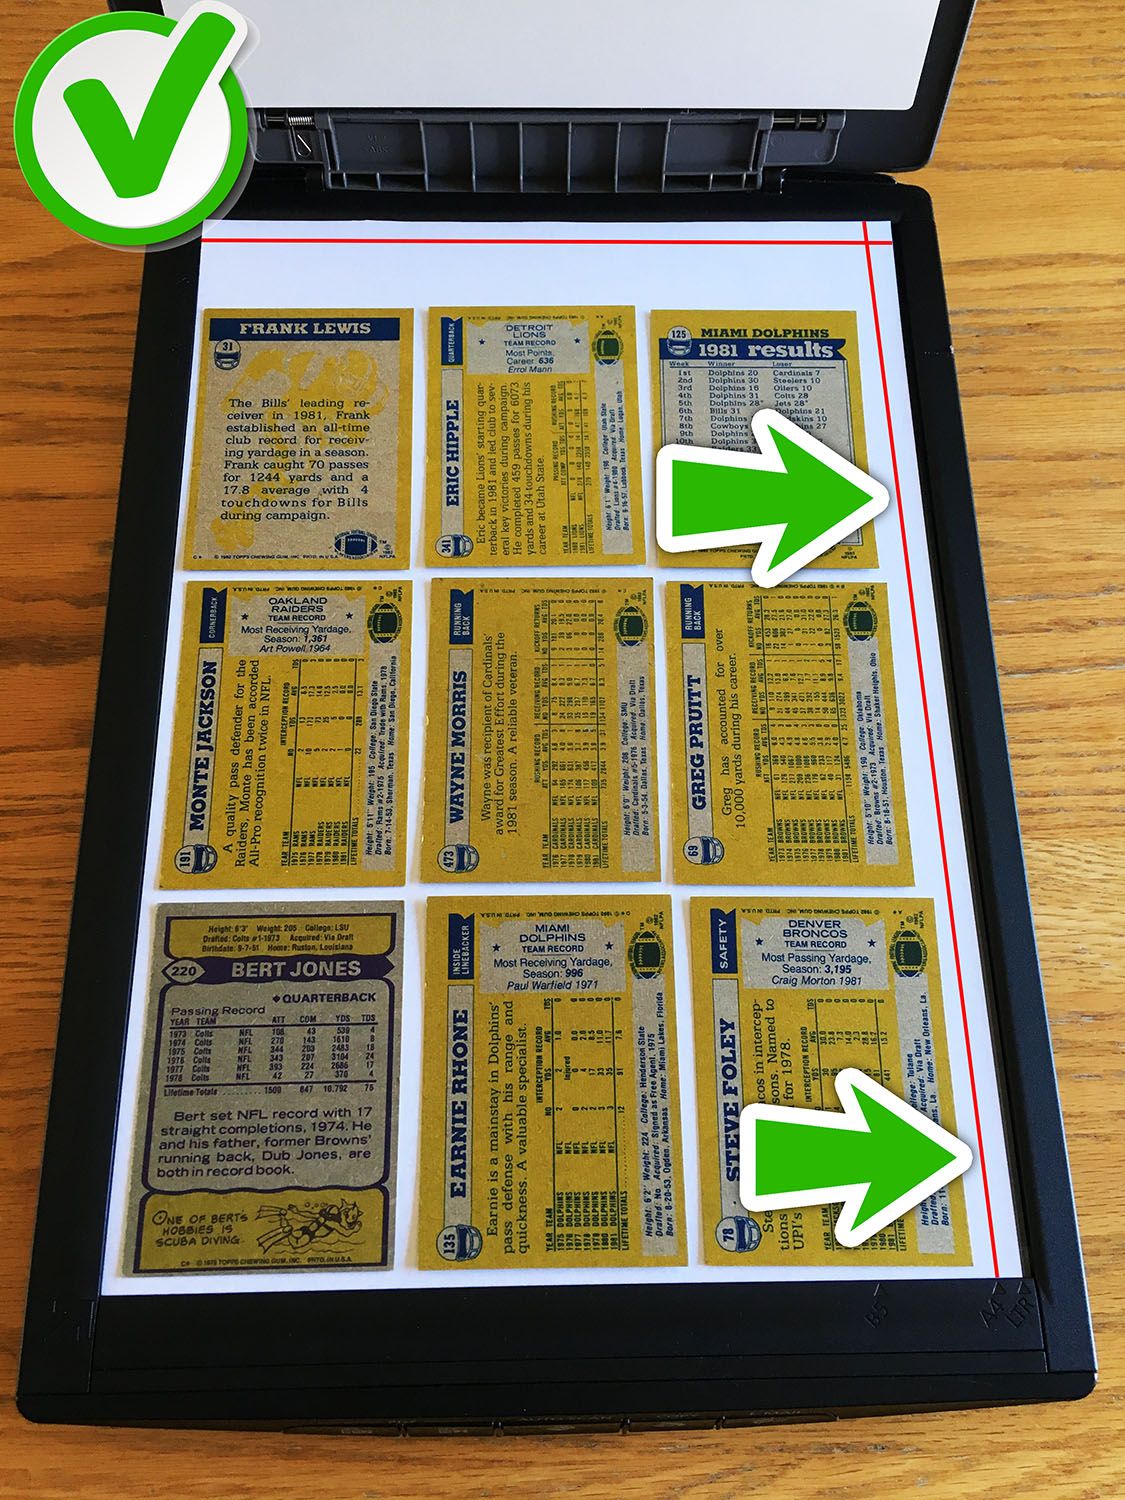
The correct way of scanning
Those are examples of good and wrong ways of scanning cards.
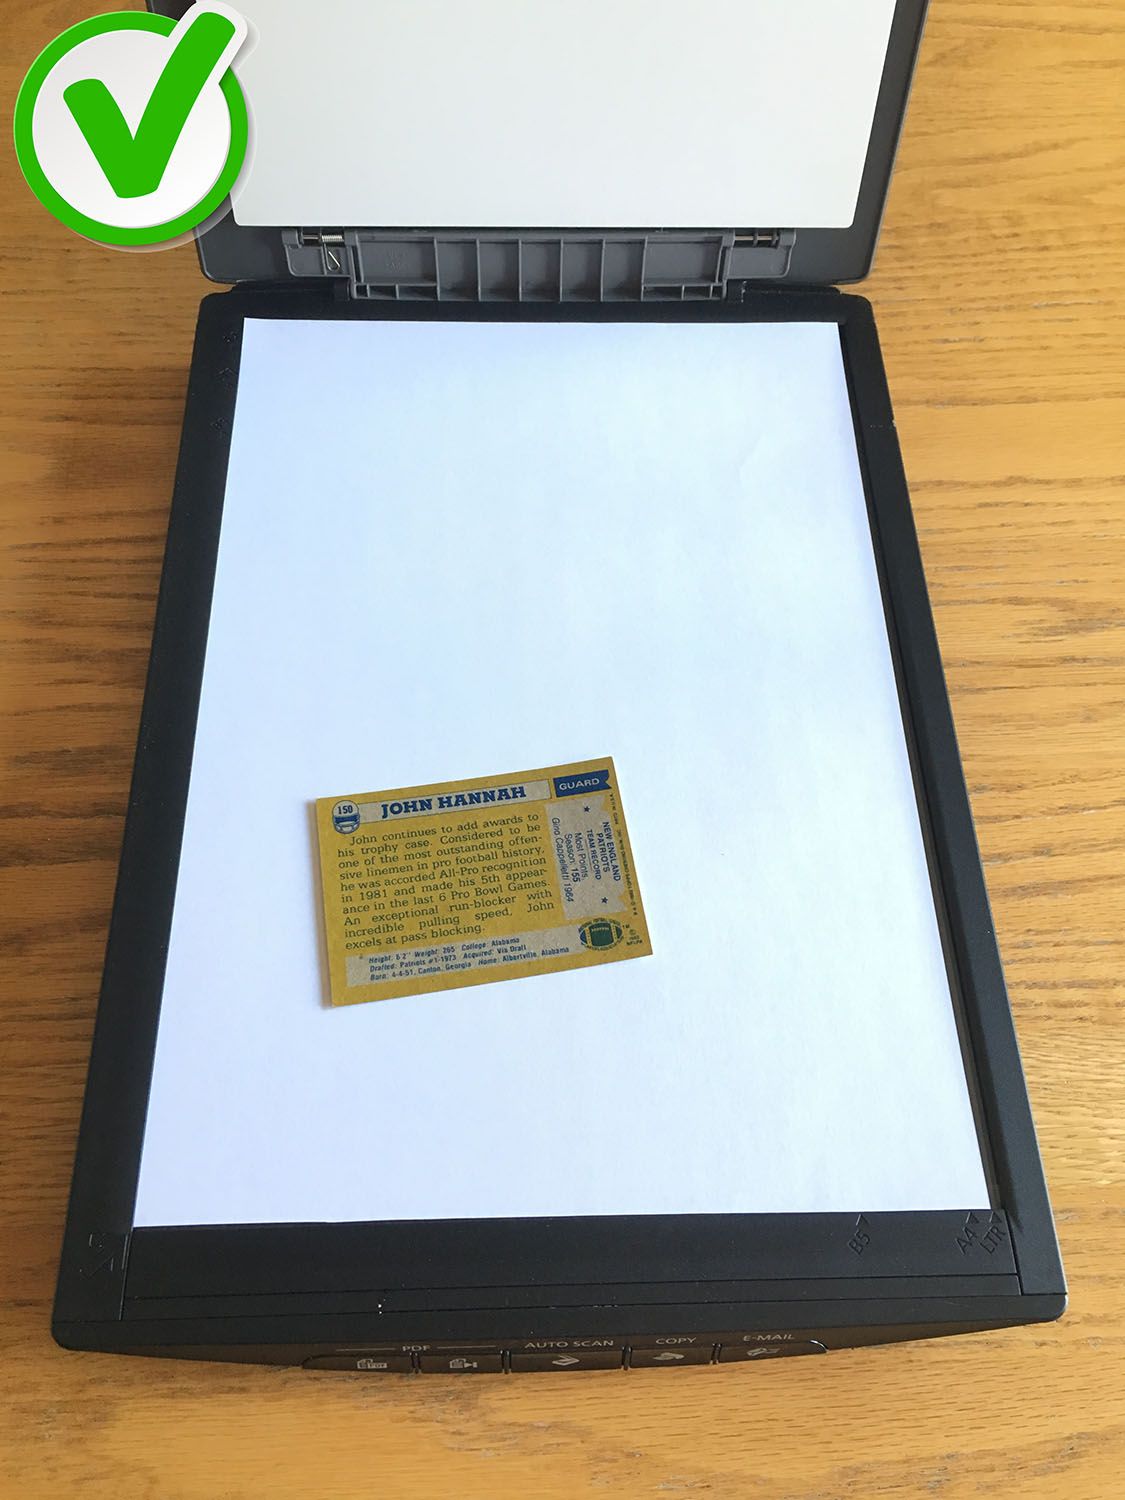
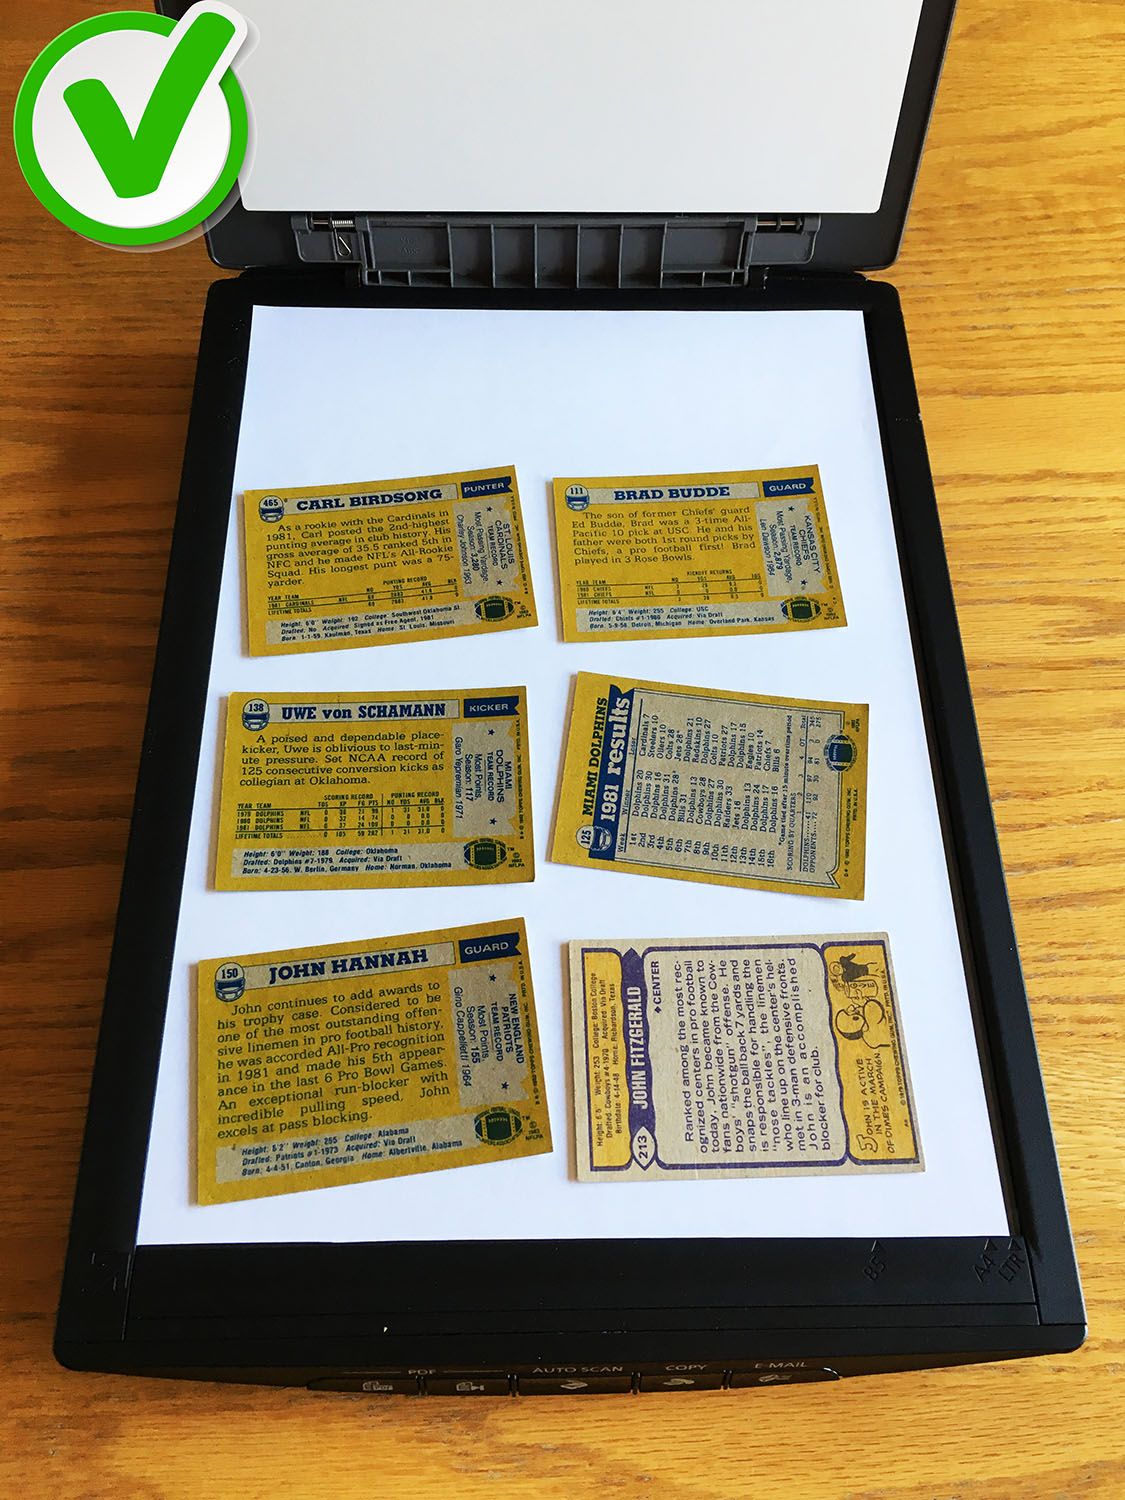
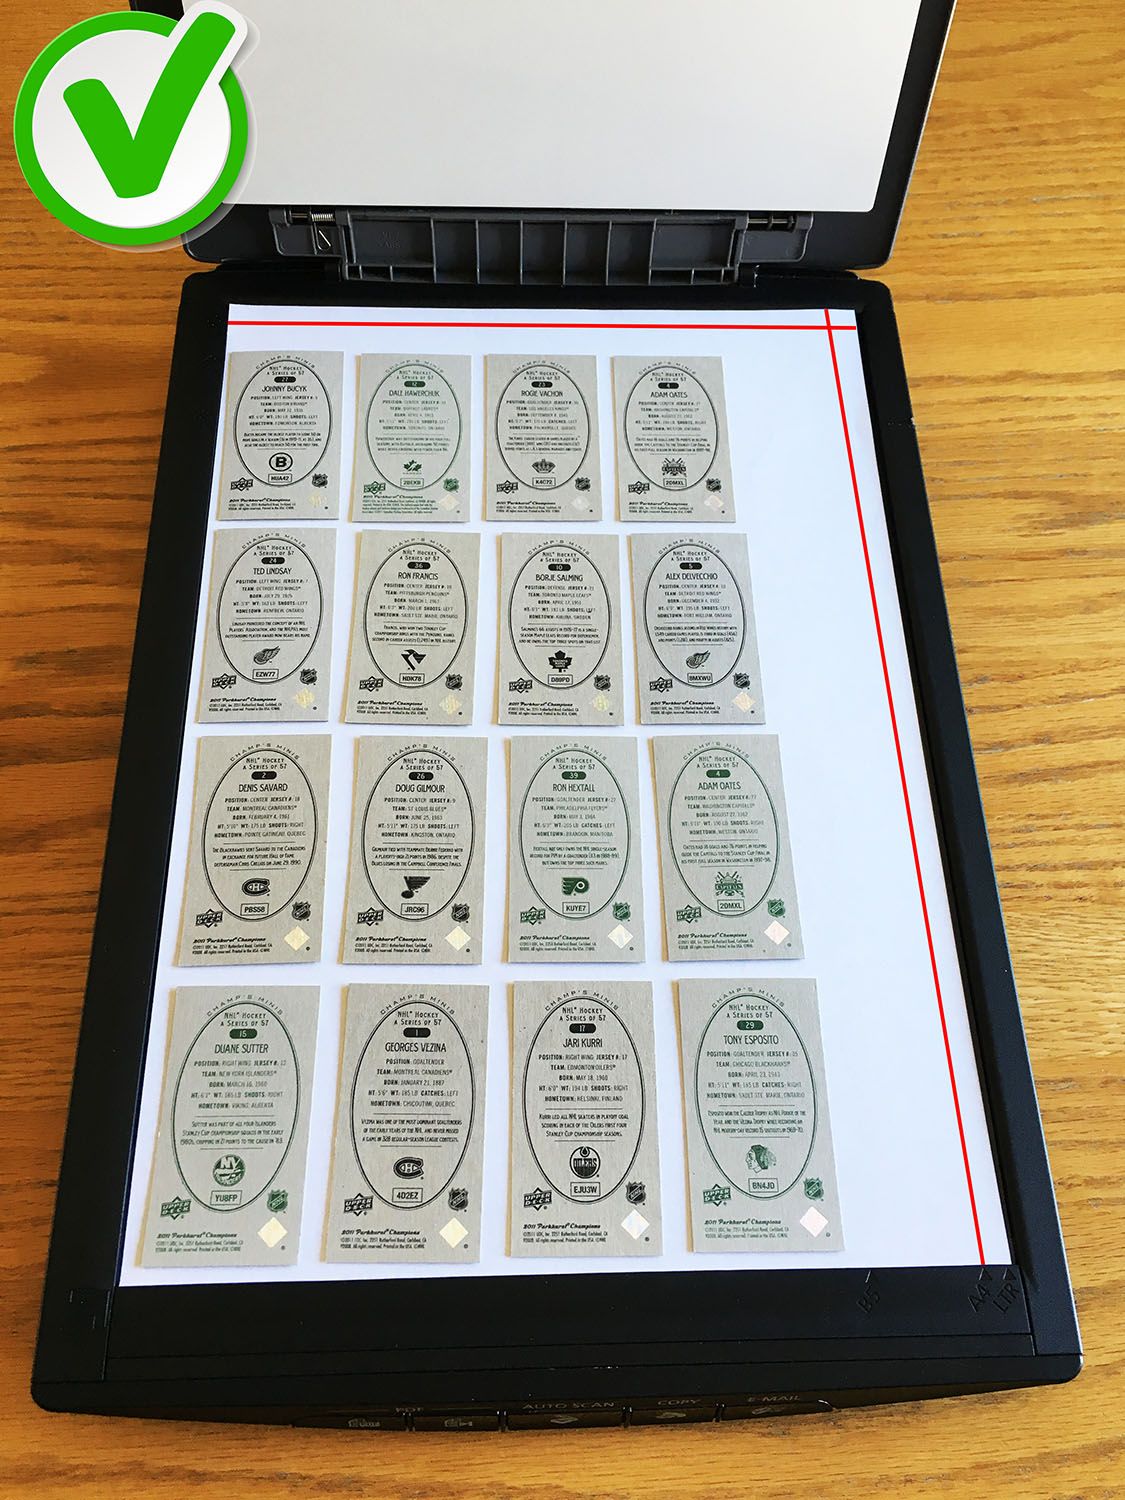
In my example I have put a white paper in the glass of the scanner just to get a better image and get rid of the glass reflection of the scanner. The red lines are where my scanner lamp stop grabbing information so I can't go over that line to be safe.
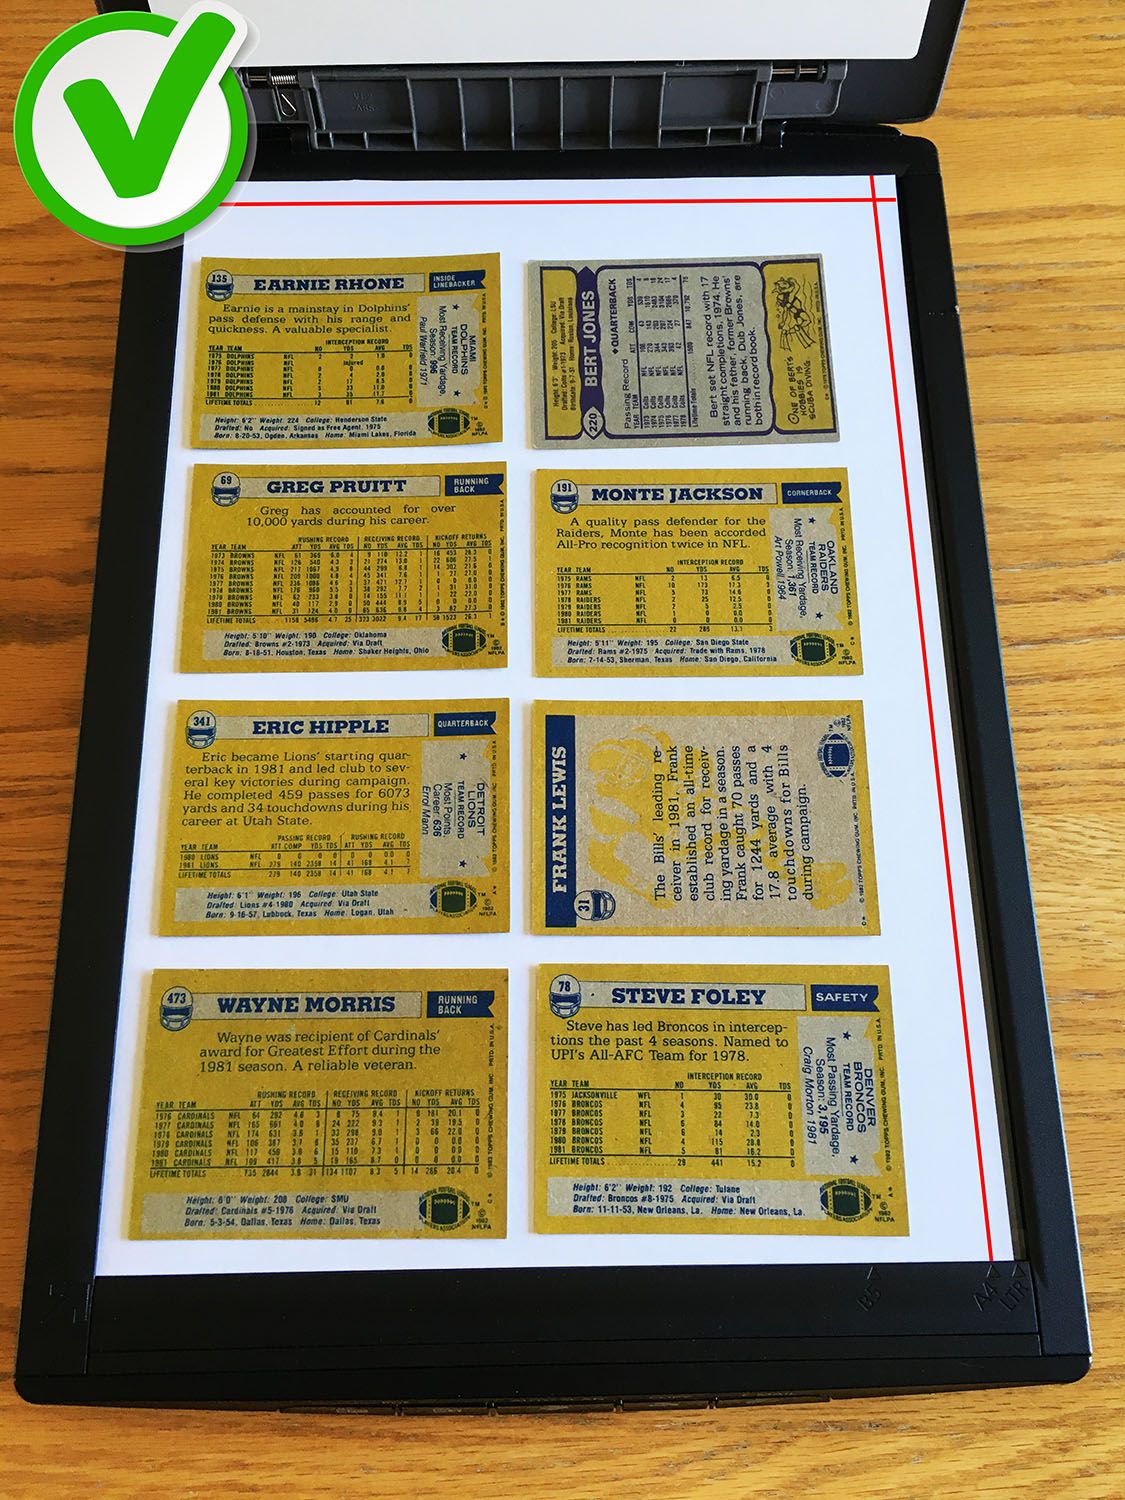
As you see, I have a nice little space around each card, none of the cards are touching one of the scanner edges and there is no card too close to the end of the scanning area represented with my red lines.
In my previous image I only have 8 cards and not 9 as many of you know you can normally do. Why? It's pretty simple, in fact it's for speed efficiency. When you try to put 9 card on your scanner and leaving the extra free space around the cards you will need to have the cards closer to each other AND closer to the edge and the end of the scanning area. Yes, it's possible to scan 9 cards but with our software and our experiences you are getting more efficiency by doing only 8 cards at a time because you need to be less accurate placing them on the scanner glass. Thrust me on this one, you will get rid of the black borders and scan faster if you're following our advices. :)
Concerning cards in top loader it's the same approach. Find a way to get an empty space between all cards and between cards and scanner edges. You can try to put more cards but for sure you will get black borders. With only 4 cards it is fast to align and fast to flip around because you need to align cards twice one on each side.
Unfortunately, for creative person you can't have cards in different orientation at the same time like this.
If you didn't realized yet, when you put cards on your scanner and they are not perfectly straight our software takes care of straightening it automatically! But to do so you need to give him the extra space around the card.
OK, this is also working but do not exaggerate and still try to be a bit accurate.
For smaller cards, there is no maximum of cards that you can put on the scanner at the same time!
We also have an 11x17 inches scanner here and we have been able to do more than 32 cards at the same time.
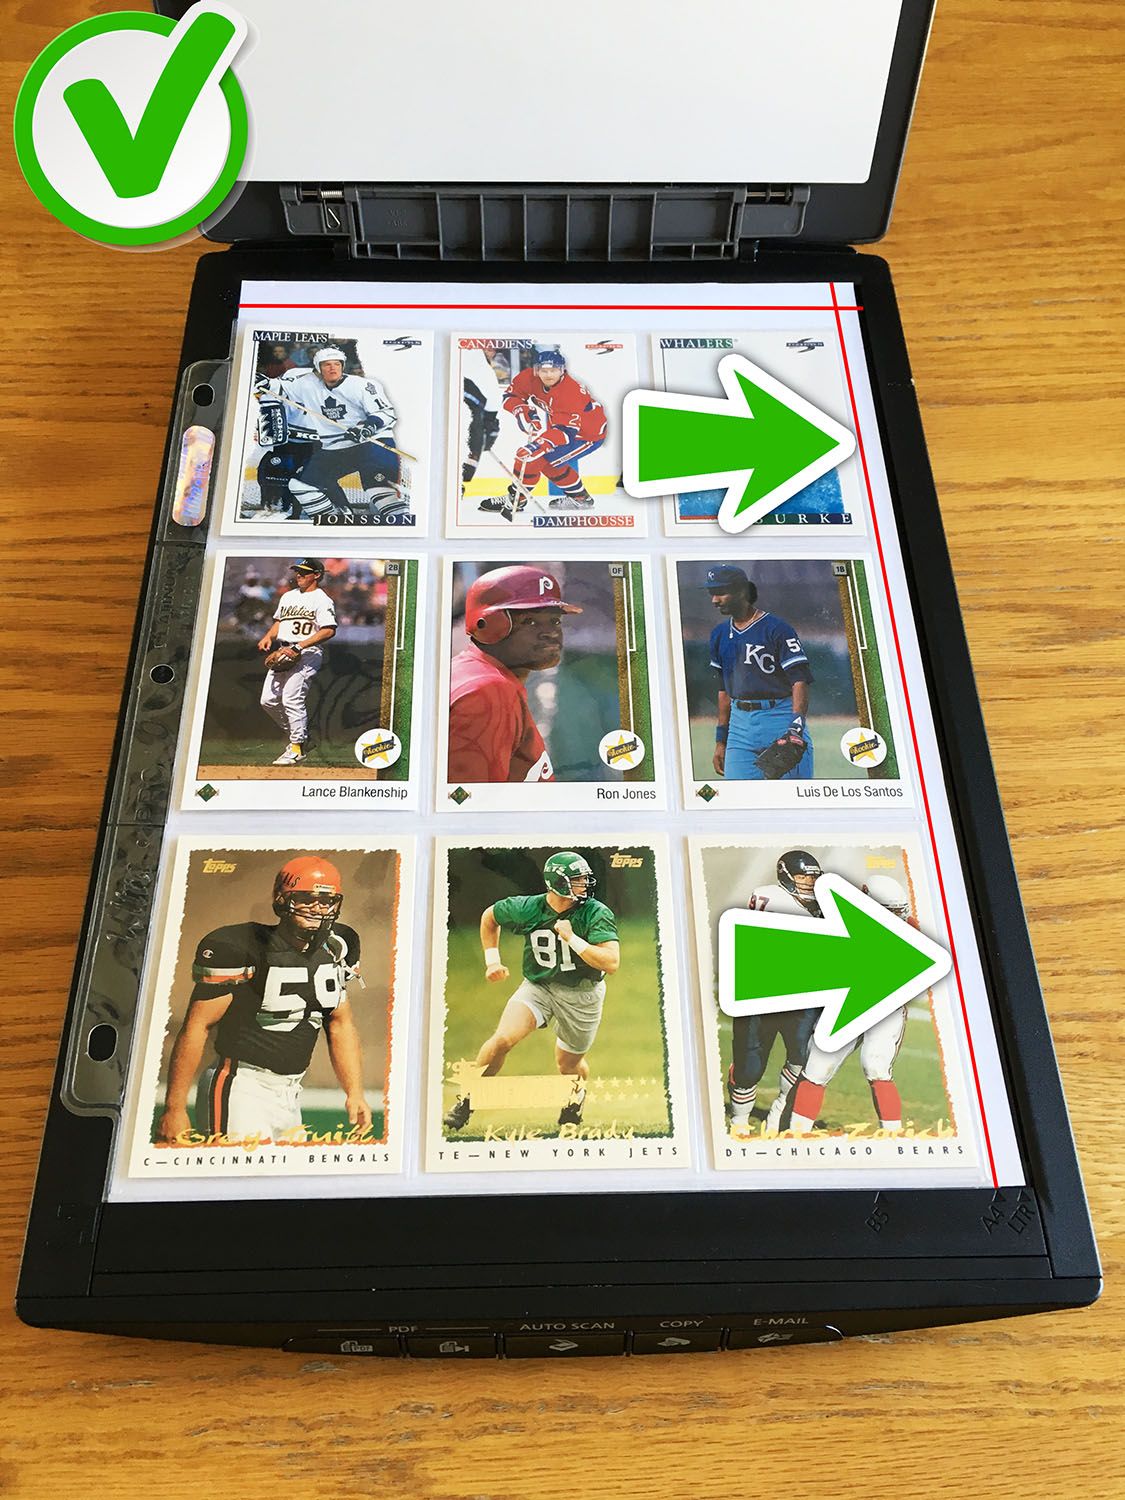
You know that you can also do cards in binder pages with Kronocard!
Same rules, in that case I'm suggesting you to select A4 as paper size and it will fit erfectly. If your looking closely yes the plastic page is touching the edge but in this case it's correct because the extra space around the card are part of the plastic sheet.
When scanning binder pages with Kronocard and it's time to flip each card you are in trouble because flipping over the page will change their positions. When you're scanning binder sheets with Kronocard you need to select the sheet mode by pressing the little book on the right as shown in this image.
Oh! Again, don't forget to close the scanner lid!
Hope this will help you understand a little more how it works and how to get better results when scanning your cards.